Blades: 6 || Distance: 1 mm

Crosshatch Cutter
Cross-cut Test
You are currently viewing a placeholder content from YouTube. To access the actual content, click the button below. Please note that doing so will share data with third-party providers.
General:
The cross-cut test is used for single-layer as well as multi-layer paint coating systems and provides information about the resistance of paint coatings to a separation from substrates when a right-angle lattice pattern is cut into the coating, penetrating through to the substrate.
The standard DIN EN ISO 2409 (cross-cut test) specifies the following:
The spacing of the cuts in each direction shall be equal and shall depend on the thickness of the coating and on the type of substrate as follow:
up to 60 µm:
1 mm spacing, for hard (e.g metal and plastics) substrates;
up to 60 µm:
2 mm spacing, for soft (e.g wood and plaster) substrates;
61 µm to 120 µm:
2 mm spacing, for both hard and soft substrates;
121 µm to 250 µm:
3 mm spacing, for both hard and soft substrates;
The cross-cut test is not suitable for coatings of total thicknesses greater then 250 µm
Construction of the device:
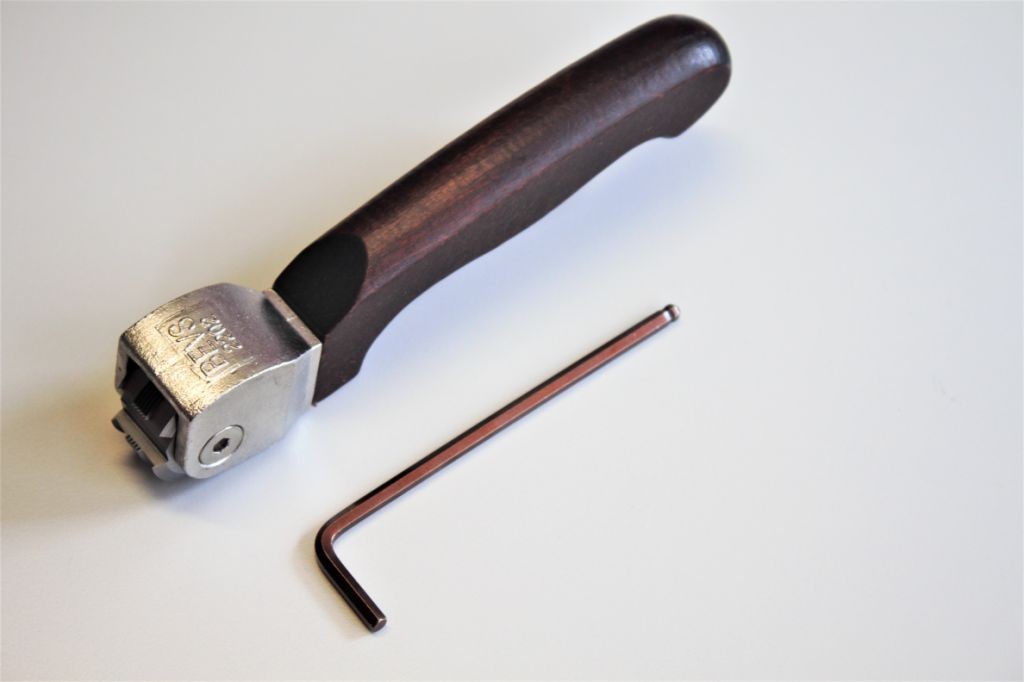
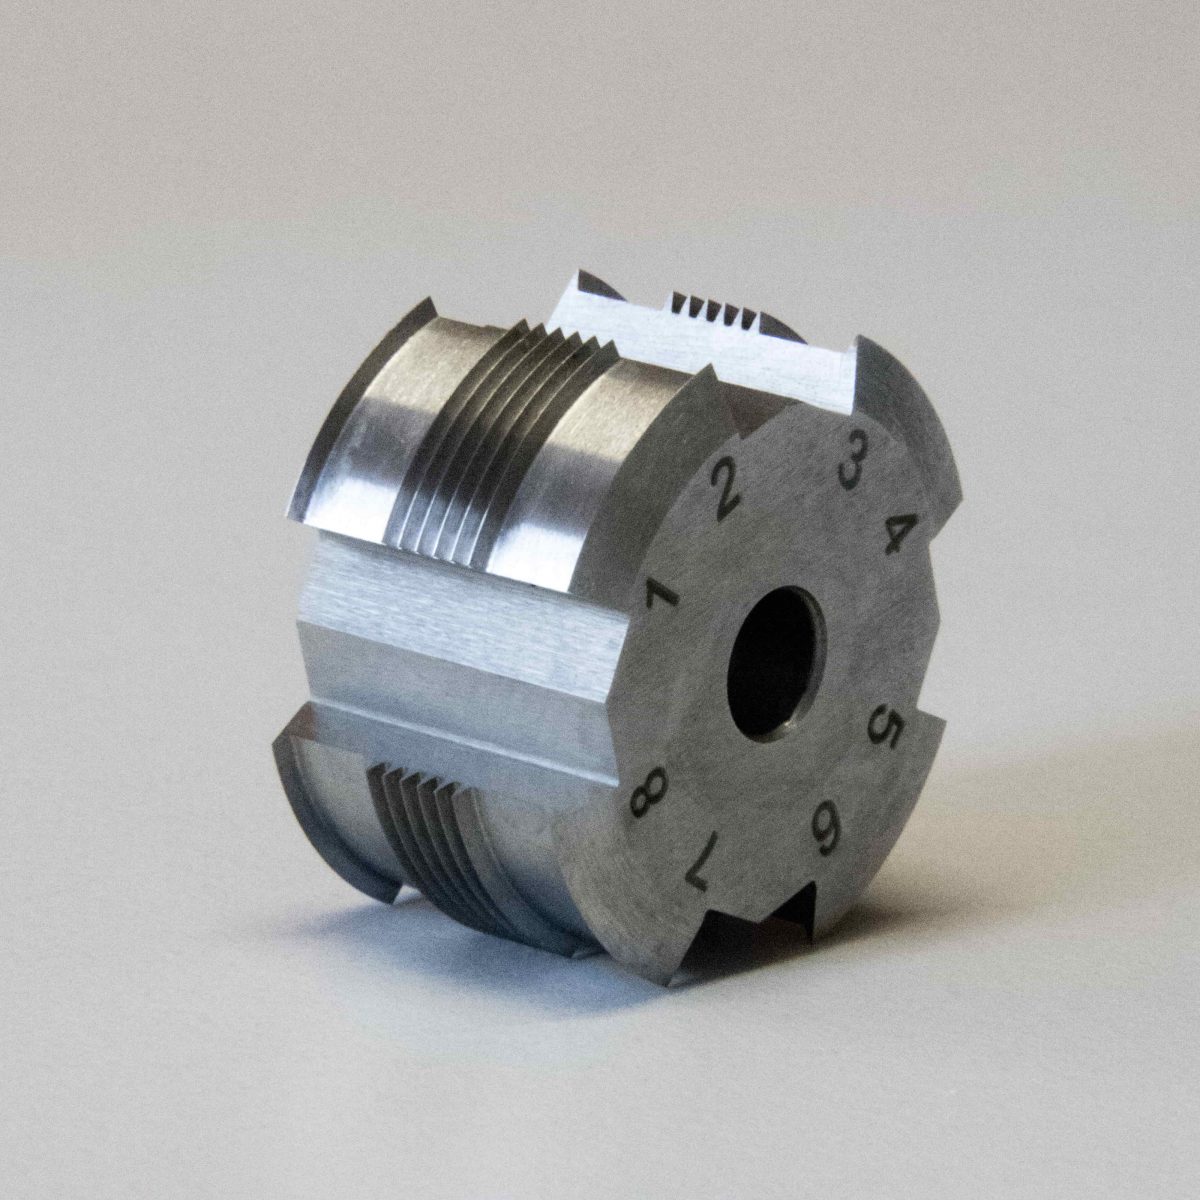
The cross cutter (also called cross hatch tester or crosshatch cutter) consists of a handle with a round cutting tool. There are 4 knives around the cutting tool, which can be used on both sides (= 8 cutting edges). Each cutting edge is made up of 6 (or 11) blades. The cross cut is made with one of the 8 cutting edges, the other 7 are used as soon as the cutting edge becomes blunt.
We suggest changing the cutting edge after about 700 cuts using the allen key to loosen the cutting tool and spinning the cutting tool until one of the remaining cutting edge is in position.
If all 8 cutting edges were each used for approx. 700-1000 cross-cuts, it is recommended to replace the complete cutting tool with a new one.
The distances between the blades are either 1.0 mm, 1.5 mm, 2.0 mm or 3.0 mm.
Application:
Since there are specific requirements and specific differences throughout the various industries, it is very important to exactly adhere to the customer specifications. Therefore a general application valid for all industries is not possible.
However, generally, the cross-cut test can be described as follows:
First the cross-cutting device is pulled over the test sample to produce a cut. Then another cut is made at a right angle to the first cut. The first cut produces 6 parallel indentations so the second cut produces a grid with 25 squares, the so-called cross section. The cuts need to penetrate the substrate. If the coating is too hard, it is recommended to change to the multi-hatch gauge, because here each cut is made individually using the cutter knife.
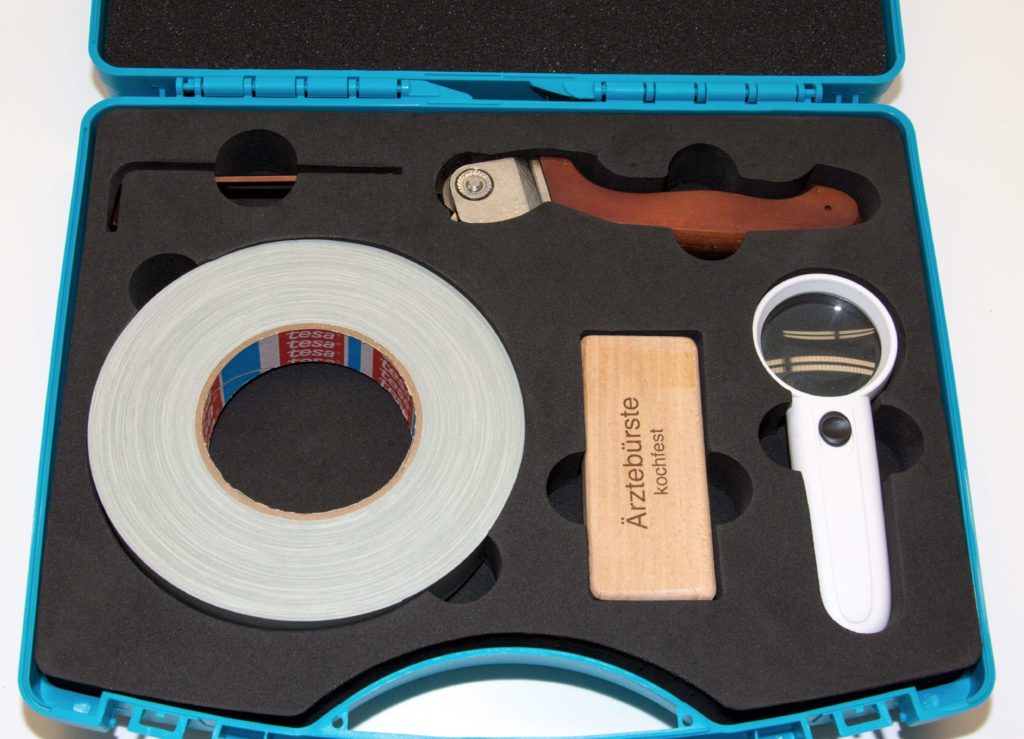
Before determining the characteristic value, any existing, loose coating material must be removed by either using a brush, adhesive tape or with compressed air / nitrogen. The standard does not provide any special requirements here.
In the automotive industry, however, it is common to use a defined adhesive tape (e.g. Tesa 4657) to remove the particles. To do this, the adhesive tape is pressed over the scratched area (by firmly rubbing with the fingertip or fingernail) and then peeled off within 0.5 – 1.0 s at an angle of 60 ° if possible. Depending on the customer’s specification this procedure is done twice which increases the requirements on the coating.
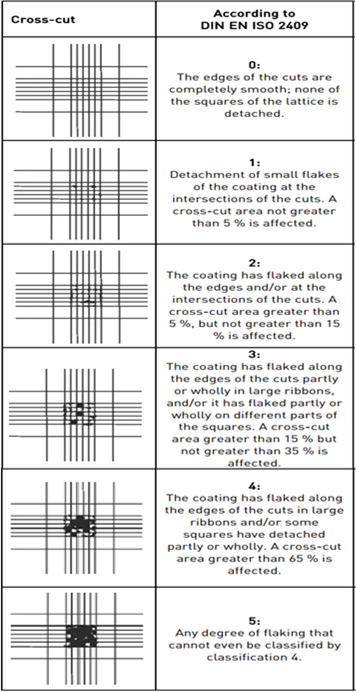
The cross-cut parameters according to DIN EN ISO 2409 are used for the evaluation. Generally Gt. 0 and Gt. 1 is acceptable, everything below Gt. 2, is not acceptable.

Unser Online-Shop
Ihr Sofort-Zugriff auf unser gesamtes Produktspektrum, von Urmustern über Corporate Color Cards bis hin zu unseren Prüfmitteln.
Anmelden.Unsere Referenzen
Namhafte Unternehmen aus den unterschiedlichsten Branchen vertrauen auf uns und unser Leistungsspektrum – zum Teil bereits seit 20 Jahren.
Ansehen.Unser Download-Service
Sicherheitsdatenblätter für Prüfmittel, technische Datenblätter für Substrate, Informationen zu den Prüfgeräten, ISO-Zertifikate und mehr.
Umschauen.


